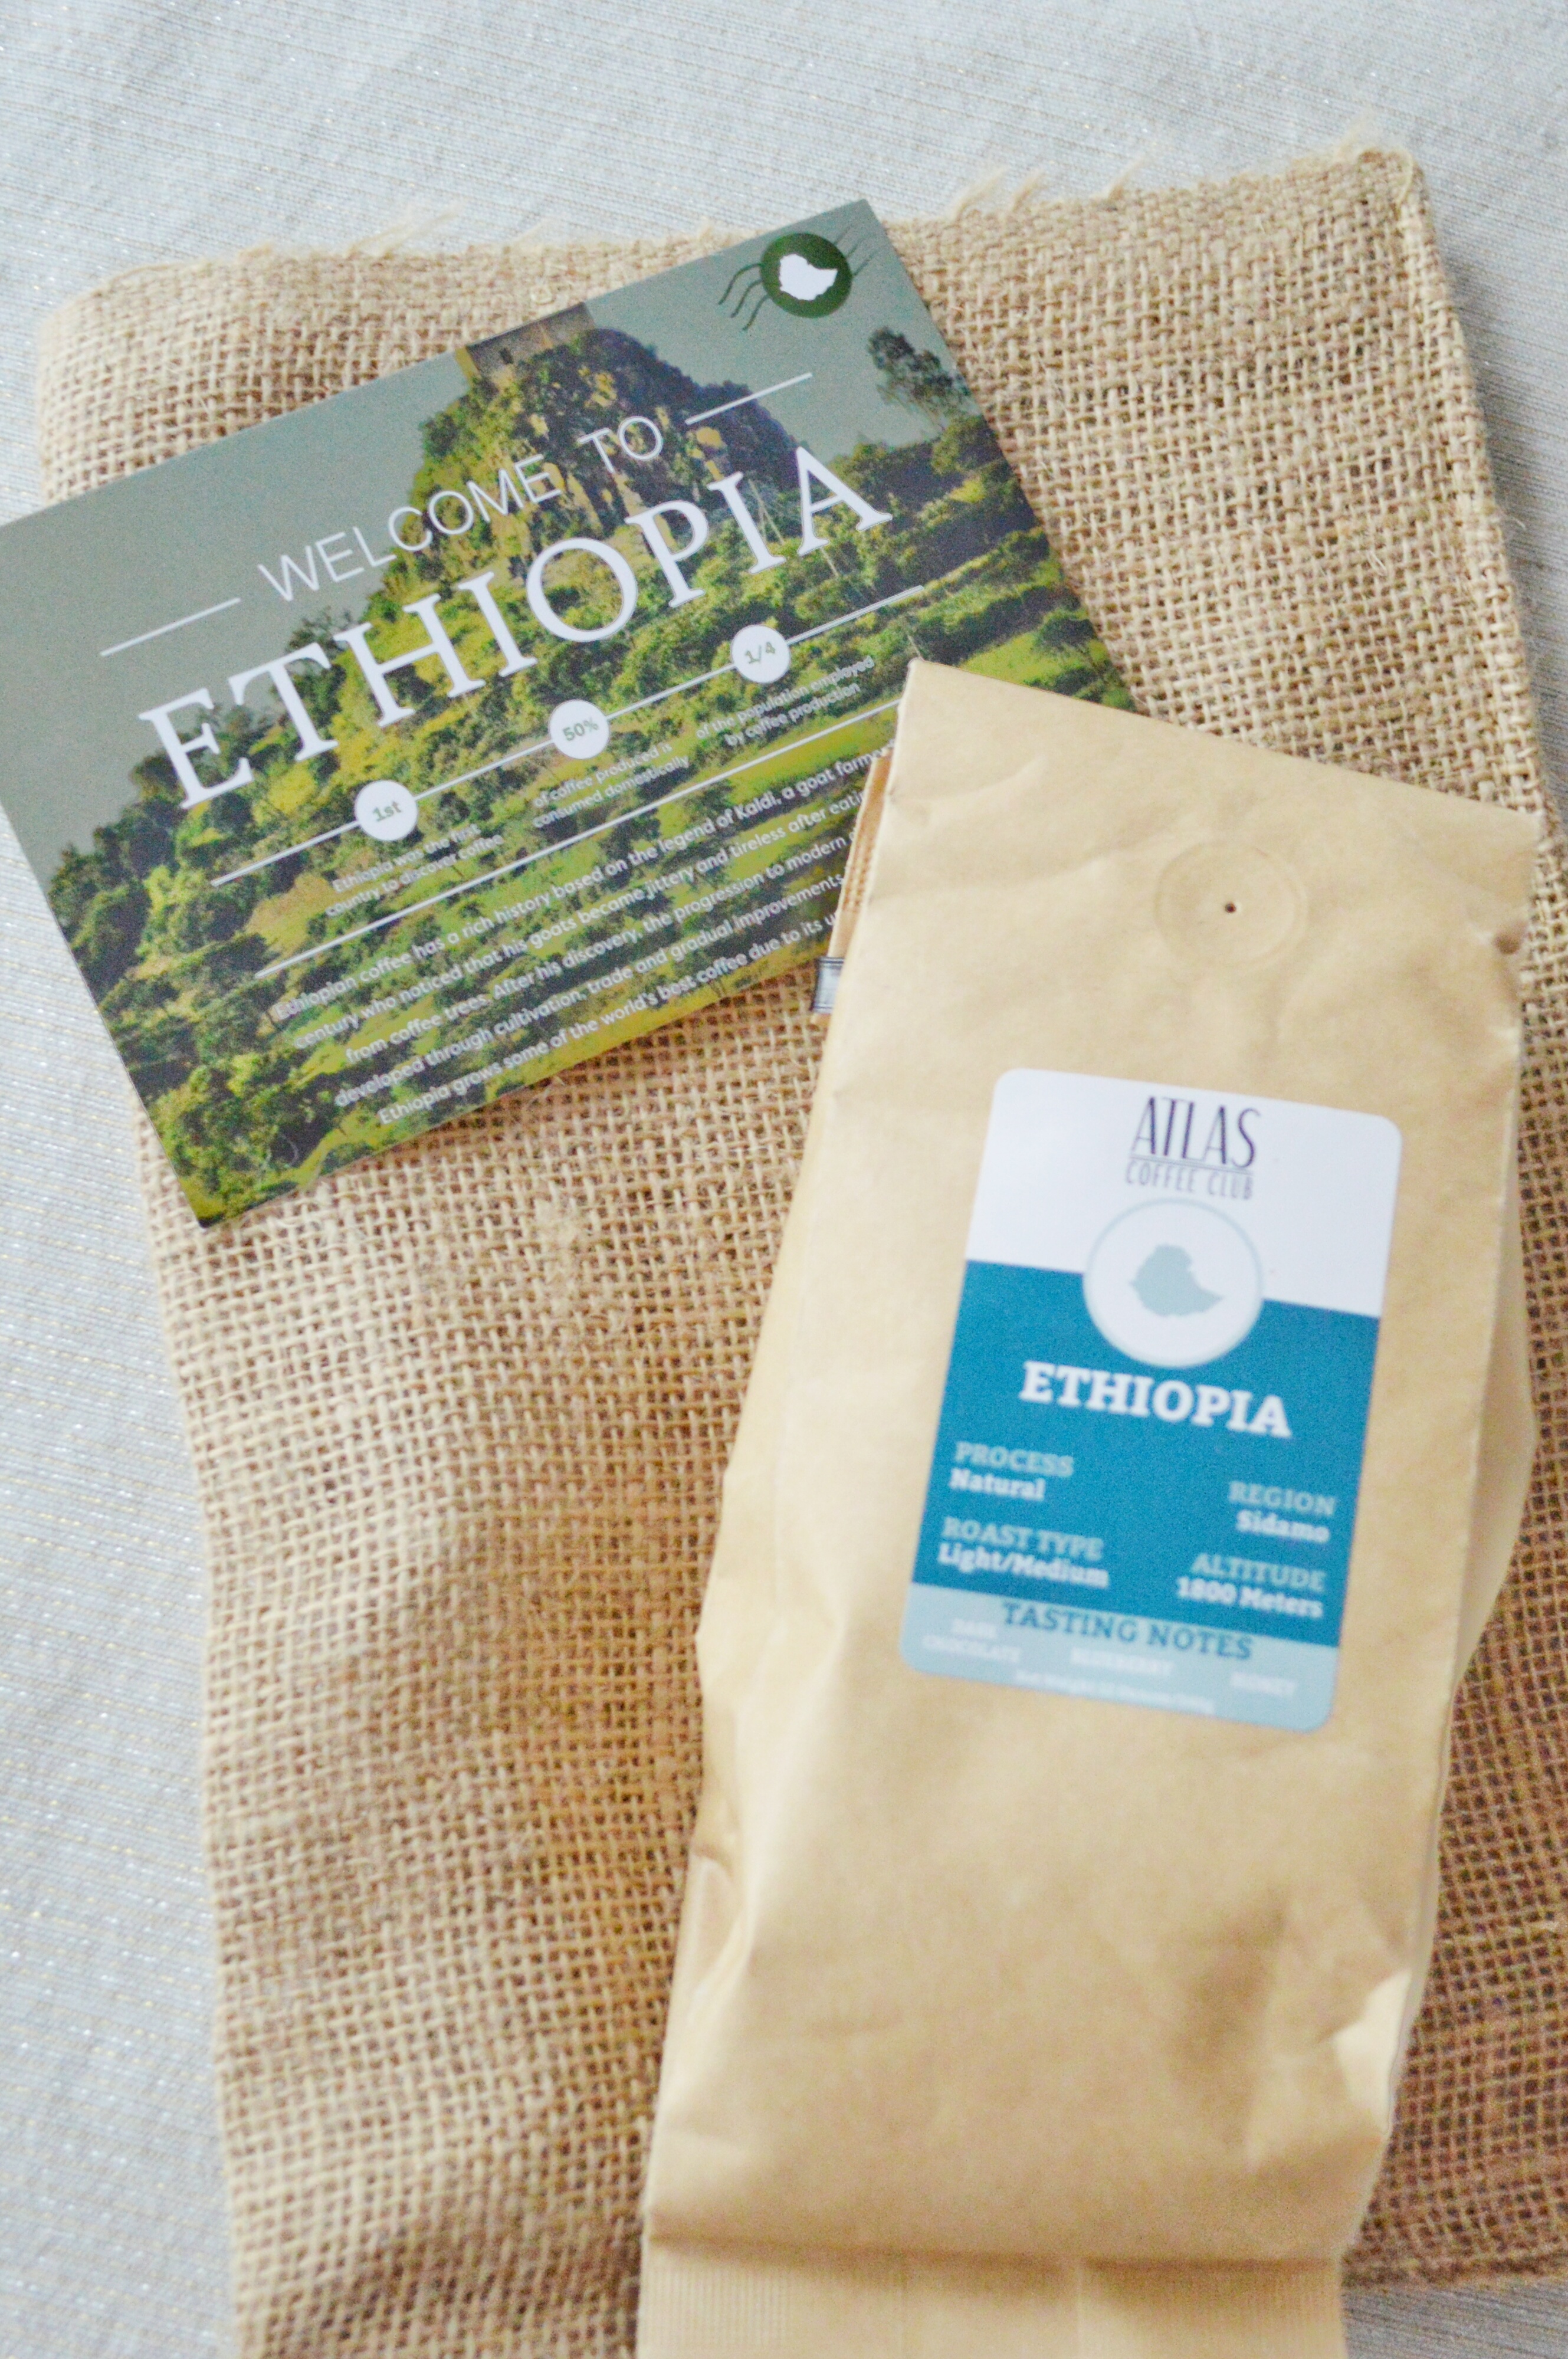
Atlas Coffee Club “sources premium single origin coffee from farms around the world and pays well above market prices for the beans, helping to ensure ethically sustainable farming practices and the highest quality coffee year after year”. I am making a conscious effort to be more aware of what I consume, where it comes from, how it’s made and supporting businesses that are operating above board so I was happy to have the opportunity to work with them. It also fits into one of my favorite categories of things– a monthly subscription service (individual bags are for sale too).
Based on my preferences, I went with Ethiopia, which arrived already ground. However, if you prefer to grind your own, whole beans are available as well. Either way, your coffee is roasted the same week you receive it, with the roasted date right on the package. It was cool that it came with a card explaining more about where my coffee came from, something I rarely thought about in the past, sadly.

I loosely followed this recipe to make my cold brew, since a friend had used it and told me it was easy. And it was! You’ll need:
- ground coffee
- cold water
- cheesecloth
- fine mesh strainer
- a food safe container (or you can use two pitchers, which is what I did)
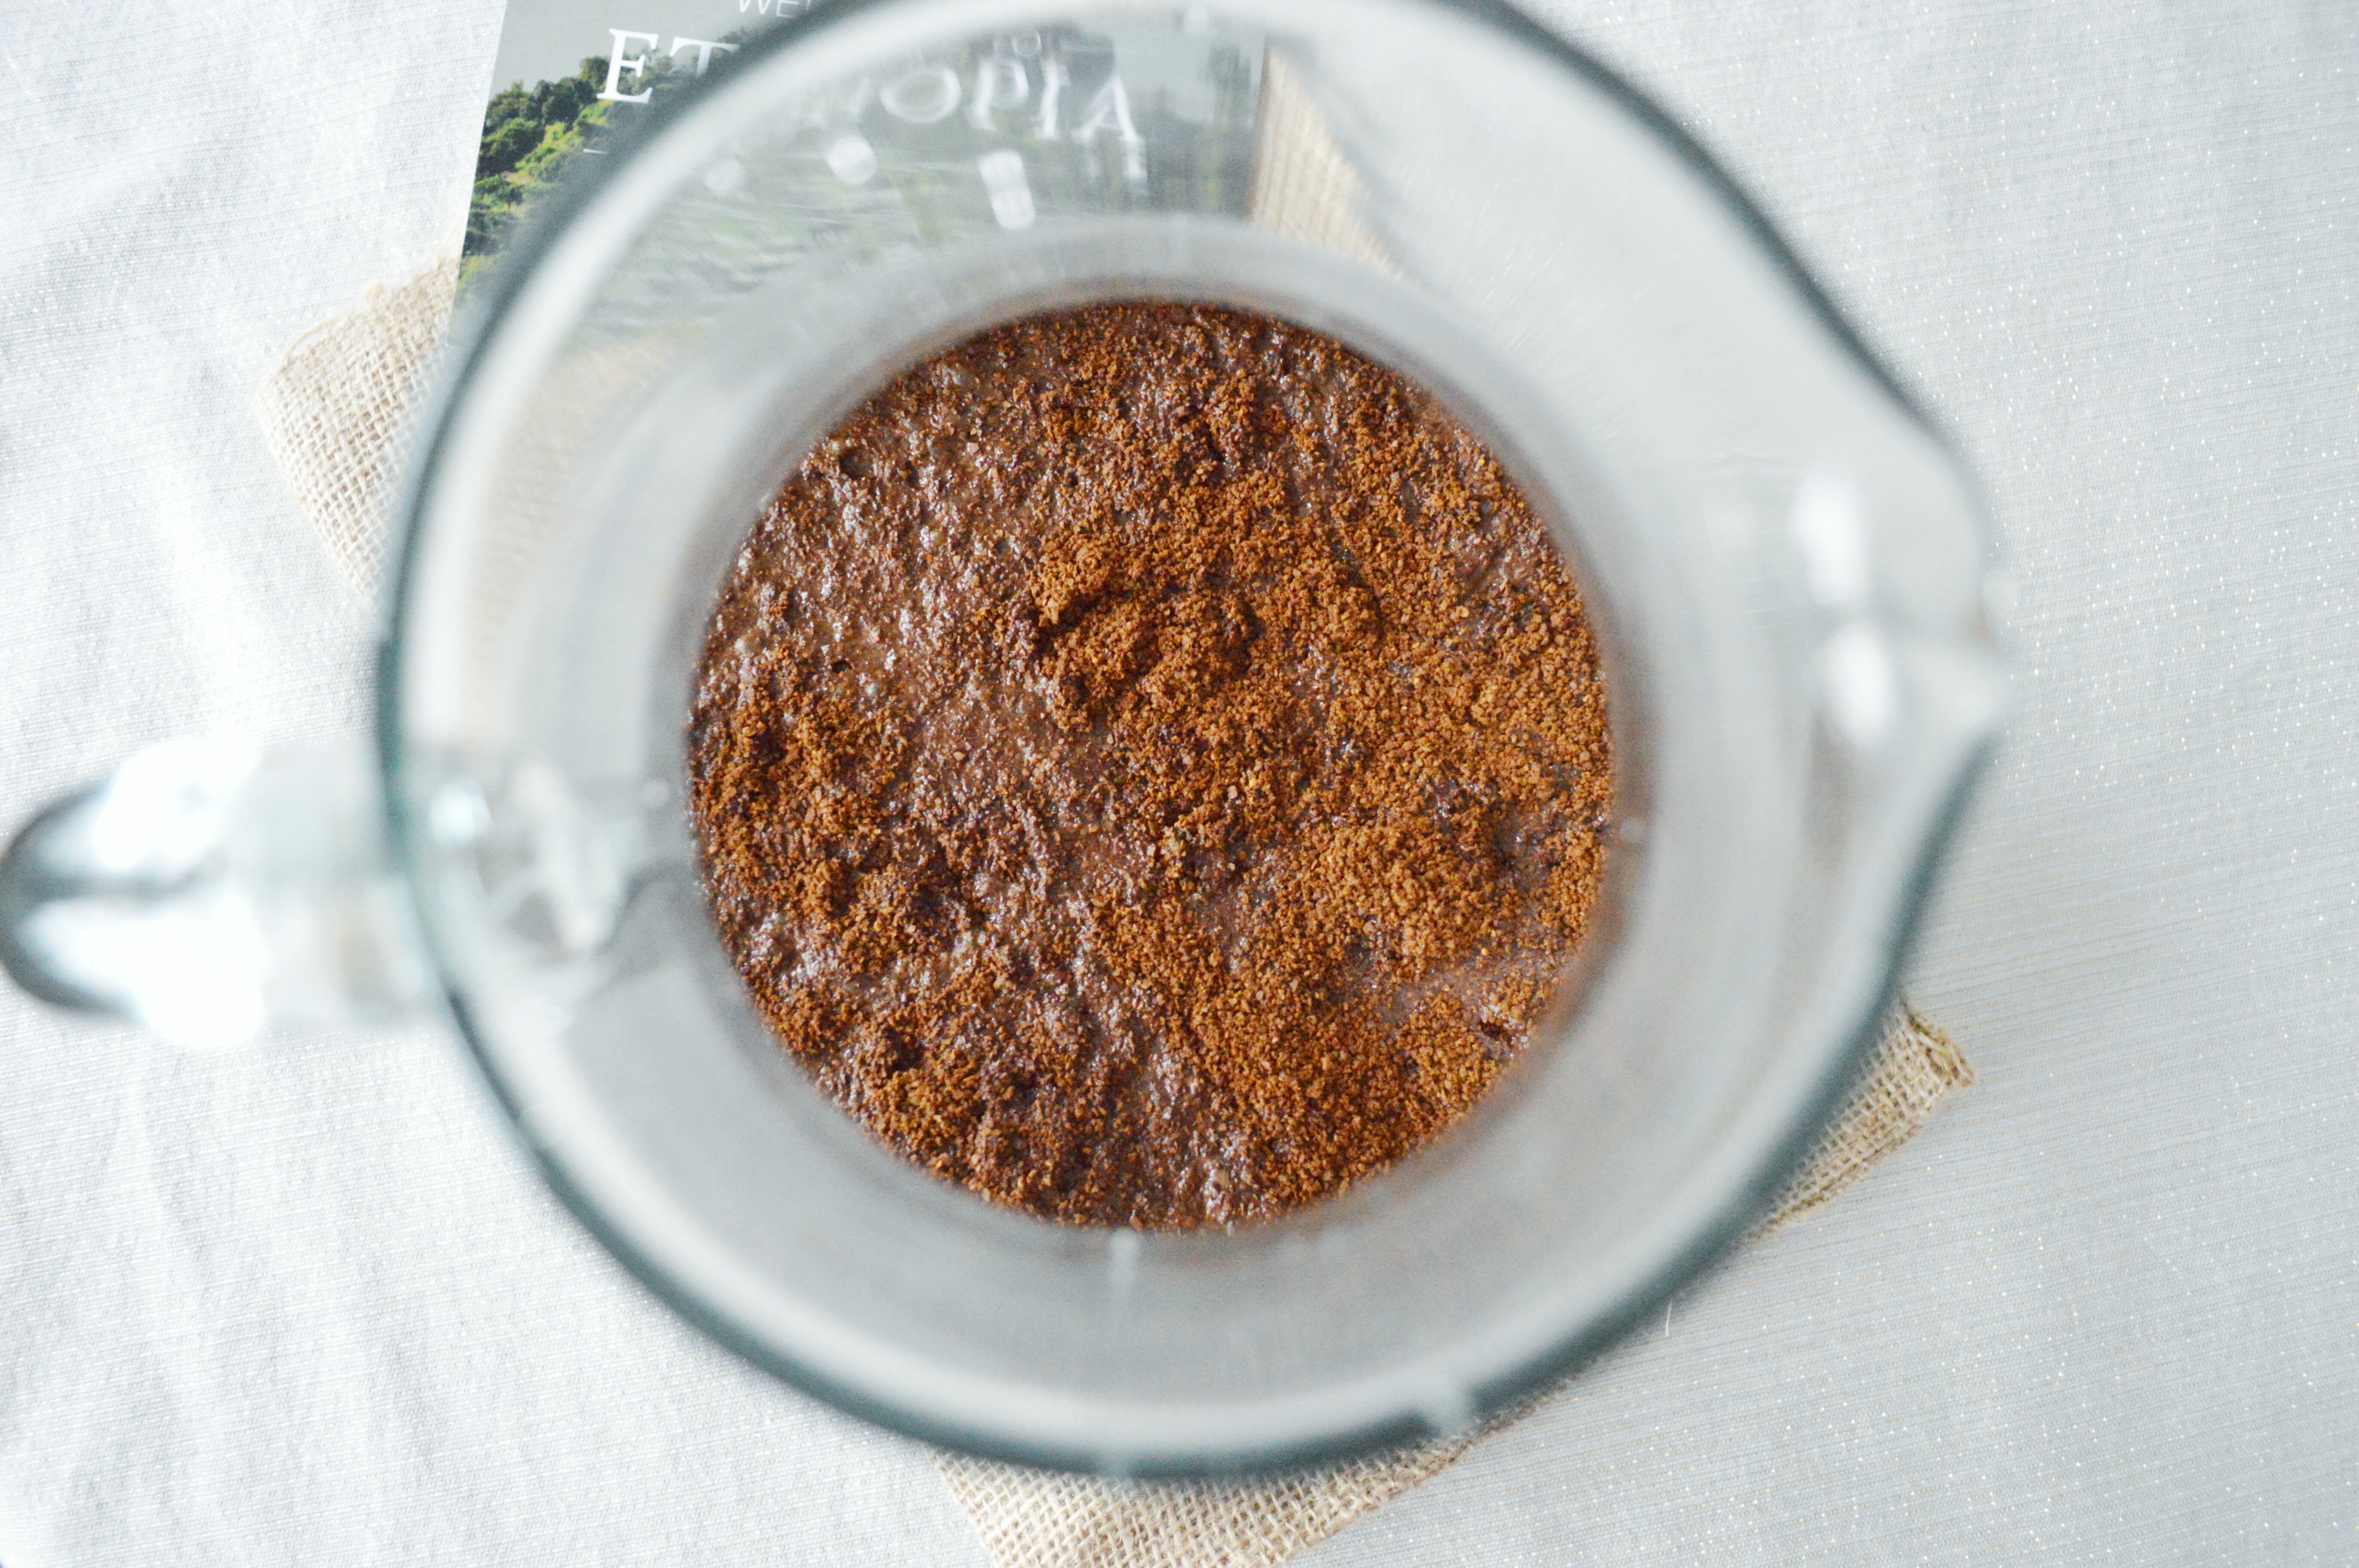
Pour your bag of ground coffee in first, top with cold water and put it in the fridge for a minimum of 8 hours. You can adjust the coffee/water ratio to your personal preference. I used less water than the recipe calls for because I wanted it to be stronger. I figured I could always add water to it afterwards, like you would a concentrate, if necessary.

I let my cold brew steep for just shy of 24 hours, then I covered my fine mesh strainer with a piece of cheesecloth (remember– you want to keep those grounds out hence using both) and hoped for the best. It went well! None of the grounds got through and I had plenty of strong, cold brew to keep in the fridge. Keep in mind that this undertaking is going to be slightly messy, but it wasn’t nearly as bad as I was fearing.
Now you’re ready to enjoy! Cover and refrigerate the remainder.

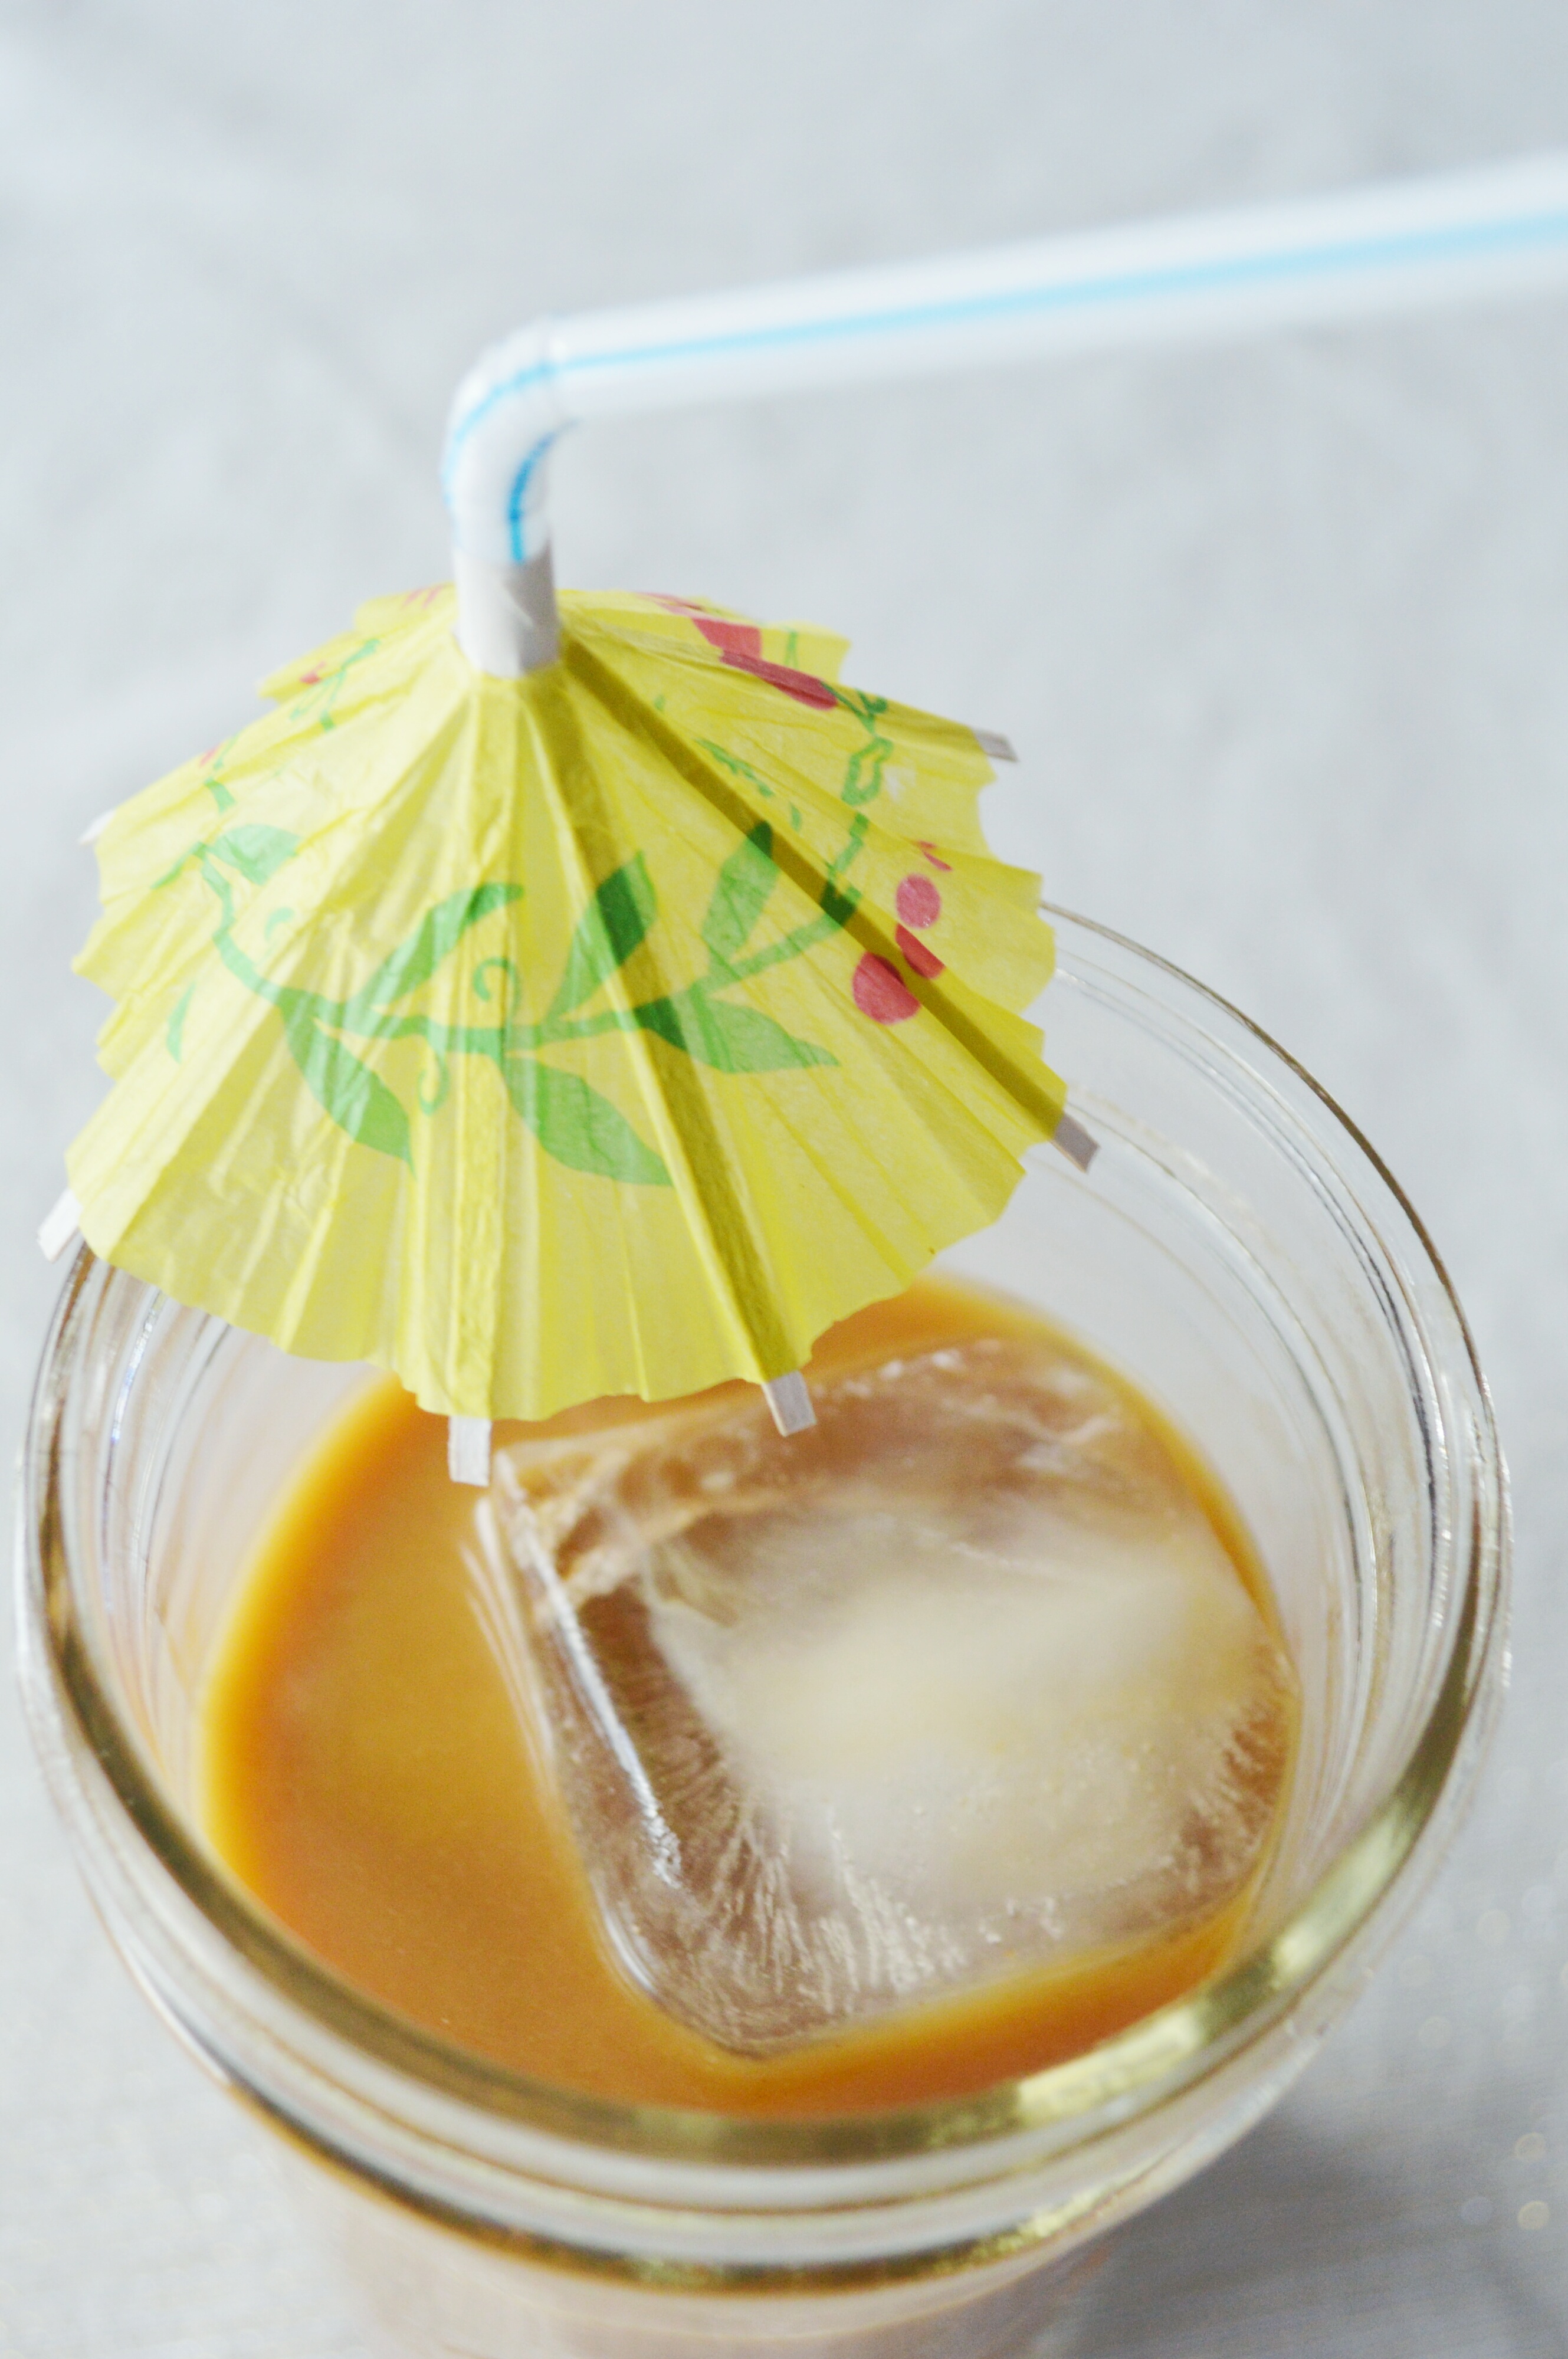
I had mine with just cream, my go-to king cubes and an umbrella straw (because life is short). It was delicious! The strength, freshness and quality all showed. I’d be interested to try this same technique with a different blend next time. To compare, but also to see if I can find my perfect coffee to water ratio.
Do you make coffee at home, buy it out, or both? Have you ever tried making cold brew before?
Disclosure: Atlas Coffee Club provided me with a complimentary bag of coffee of my choosing for my review. Using it to make a cold brew and all other opinions expressed are my own.
I did this all summer! So good, I have to do half water in my glass or I feel like I can’t breathe…is that weird? Though I notice they add water to the cold brew at Satarbucks. Maybe I should buy a lighter blend this summer.
Haha same with Trader Joe’s cold brew concentrate – – you add water! My thought process is that it’s easier to water it down, harder to make it stronger.